05 / TILE SELECTION
Bathroom Tile Ideas
Format, material, finish, pattern and grout — the five decisions that set how a bathroom reads, how long tiling takes and how much tile you need to order.
01
Decide the surface before demolition
Tile is the largest visible surface in a bathroom and the one selection that touches set-out, waterproofing detail and labour hours at the same time. Locked in early, the tiling stage runs to a plan. Changed mid-job, the set-out, trims, niche sizes and ordering quantities all move with it.
Work through the variables in order: format first, because it drives set-out; then material and finish, because they drive maintenance and slip resistance; then pattern; then grout, which is the cheapest way to change how the finished room looks. Most of this is settled during bathroom design, before anything is ordered.
02 / FORMAT
Three formats, three different jobs
Format is the first decision because it sets the set-out, the number of cuts and how flat the substrate has to be.
F-01
Large format
F-02
Subway and brick

F-03
Mosaic
03 / MATERIAL
Material and finish
Porcelain — dense and low absorption, suits floors and walls, no sealing required.
Ceramic — lighter body and wider colour range, generally a wall tile.
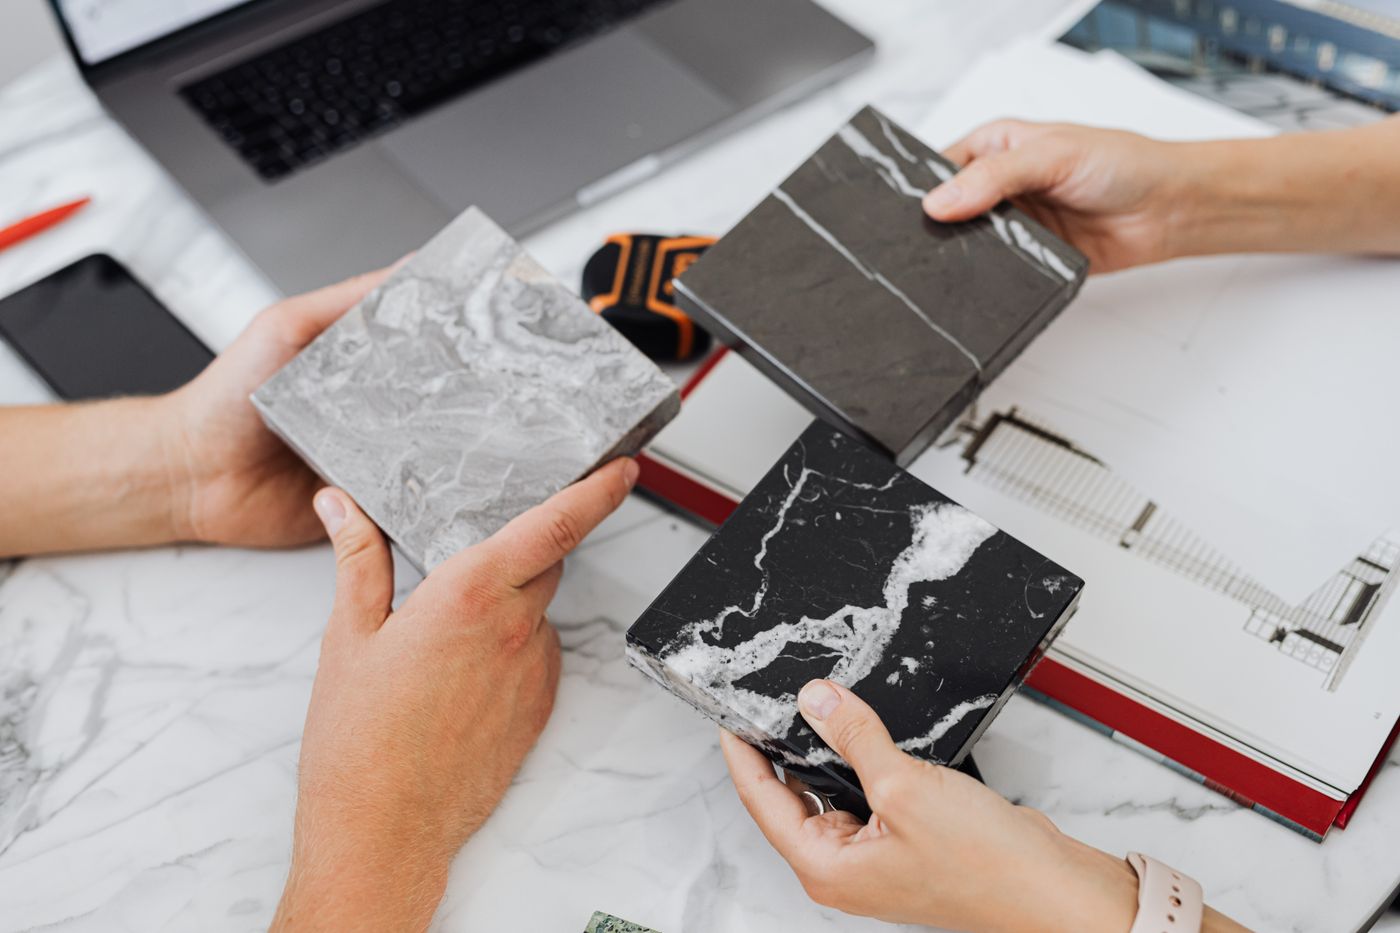
Natural stone — marble and limestone need sealing at installation and again over time, with cleaning products chosen to suit the stone.
Slab-look and terrazzo-look porcelain — veined or chip patterns without the stone maintenance. Faces repeat, so ask to see the full range of prints before ordering a large wall.
More on substrates and surfaces sits in the bathroom materials guide.
FINISH + SLIP
Matt, gloss or honed
Matt hides water marks and reads softer. Gloss bounces light around a small room but shows every squeegee mark. Honed sits between the two and is common on stone-look surfaces.
On floors, finish matters more than appearance. Ask the supplier for the slip resistance rating of any tile going on a bathroom floor or shower base, and confirm it is rated for wet-area floor use before it is ordered — the same range is often sold in a wall version and a floor version with different ratings.
04 / SET-OUT
Pattern changes waste and labour
Stack bond — a grid aligned both ways. Unforgiving: walls, substrate and tile size must all be true. Standard waste allowance.
Brick or offset bond — with large format, offset by a third rather than a half to reduce lippage between tiles. Standard labour.
Herringbone — every tile at a border is cut on an angle, so add labour hours and additional material. Strongest used in one plane rather than wrapped around three walls.
Vertical stack — visually lifts a low ceiling. Needs a set-out that lands a full tile at the ceiling line and a clean junction where the shower screen meets the wall.
Whatever the pattern, ask for the set-out to be marked out and agreed before adhesive goes on — including where the cut tile falls, how the niche is framed and how the floor grade runs to the waste.
05 / GROUT
Grout colour and joint width
Grout is the biggest low-cost visual variable in the room. Matched to the tile it makes the surface read as one plane; contrasted against it, the same tile becomes a pattern. Choose it with the tile in hand, in the real light of the room, not under showroom downlights.
Joint width is largely set by the tile edge. Rectified tiles allow tight joints; pressed edges need a wider joint to absorb size variation across the batch. Movement joints are a separate requirement and sit alongside the waterproofing detail.
06 / EDGES
Mitres, trims and feature walls
Where two tiled planes meet, you either mitre the tile or run a metal trim. Mitred corners look seamless and cost labour; trims are faster, more robust on traffic edges, and can be specified to match tapware finish. Pick one approach and use it consistently.
Running one tile floor to ceiling simplifies set-out and helps a small bathroom feel larger. A feature wall works hardest behind the vanity or inside the shower recess only, with the surrounding tile chosen to sit back rather than compete.
07 / ORDERING
Allowance and batch
Order above the measured area to cover cuts, breakage and future repairs — more again for herringbone, diagonal set-outs, and rooms with many niches, short walls and penetrations.
Keep the spare tiles from the same batch after handover. Shade and calibration vary between production runs, and a later repair from a new batch rarely matches.
Selection ledger — fill this in
T-01 Floor tile — size, finish, slip rating
T-02 Wall tile — size, finish, rectified or pressed
T-03 Feature area — where it stops and starts
T-04 Shower floor — format and fall to waste
T-05 Pattern — bond, direction, starting point
T-06 Grout — colour and joint width
T-07 Edges — mitred or trim, trim finish
T-08 Quantity — measured area plus allowance
Bring the completed ledger to your design conversation, or send it with your enquiry so the scope is discussed against real selections rather than assumptions.
08 / QUESTIONS
Tile questions we are asked most
Can large-format tile work in a small bathroom?
Usually yes — fewer grout lines make a small room read as a single surface. The limit is cutting: in a narrow room with several penetrations, a large tile can produce a lot of waste and awkward slivers, so the set-out should be checked at design stage.
Does the shower floor need a different tile?
Often. A shower floor has to fall to the waste, which is far easier with a smaller format or mosaic, and it needs a finish rated for wet-area floor use. Some large-format tiles can be used with the right fall and cutting, but confirm it before ordering.
Does natural stone need sealing?
Yes — marble, limestone and travertine are porous, so they are sealed at installation and resealed periodically depending on the product and use. Cleaning products also have to suit the stone. If low maintenance matters more than the material itself, a stone-look porcelain avoids that routine.
How much extra tile should I order?
An allowance over the measured area is standard — commonly in the order of 10–15% for a straightforward set-out, and more for herringbone, diagonal work or rooms with many cuts. Confirm the figure with your tiler and supplier before the order is placed.
Bring your tile selections to a quote
Send your ledger — or simply describe the samples you like — and we can talk through format, set-out and what the tiling stage involves in your bathroom. The enquiry form asks for your name, email, phone, suburb, renovation type, budget range, timeframe and project details.
KEEP READING
Bathroom Tiling Malvern — wall, floor and detail work
Bathroom Design — layouts, plans and selections
Bathroom Materials Guide — stone, porcelain and tapware
Bathroom Layout Ideas — planning fixtures and flow
Luxury Bathroom Renovations — stone, brass, detail
Design references · All bathroom guides · Malvern